
aprons
Steps to Make Aprons Using Old Shirts


Select an Old Shirt: Choose a clean, unused shirt made of durable fabric.
Prepare the Shirt: Wash and iron it before cutting.
Cut the Apron Shape: Cut the shirt fabric into an apron shape, using the front or back panel.
Make the Neck Strap: Use leftover fabric strips to create a strap that fits around the neck.
Attach Waist Ties: Cut two long fabric strips and stitch them to the sides of the apron.
Create Pockets: Reuse the shirt's original pocket or sew on an extra pocket for storing small items.
Stitch the Edges: Fold and sew the edges neatly to prevent fraying.
Decorate the Apron: Add buttons, embroidery, or contrasting fabric patches.
Final Check: Ensure all straps and seams are secure before using the apron.

Study-table organizers
Steps to Make Study-Table Organizers Using Old Shirts


1. Select the Shirt: Choose an old, clean shirt that is no longer in use.
2. Collect Materials: Gather scissors, a needle and thread, cardboard, glue, and the old shirt.
3. Cut the Fabric: Cut the shirt into pieces according to the required size of the organizer.
4. Prepare the Base: Use sturdy cardboard to create a rectangular base and supporting walls.
5. Cover with Fabric: Wrap the cardboard pieces with shirt fabric and secure them with glue or stitching.
6. Make Compartments: Create separate sections for pens, pencils, markers, and other stationery items.
7. Add Pockets: Reuse the shirt's original pockets to store small items such as erasers, paper clips, and sticky notes.
8. Assemble and Decorate: Join the compartments and decorate the organizer with leftover fabric pieces.
9. Use the Organizer: Place it on your study table to keep stationery neat and organized
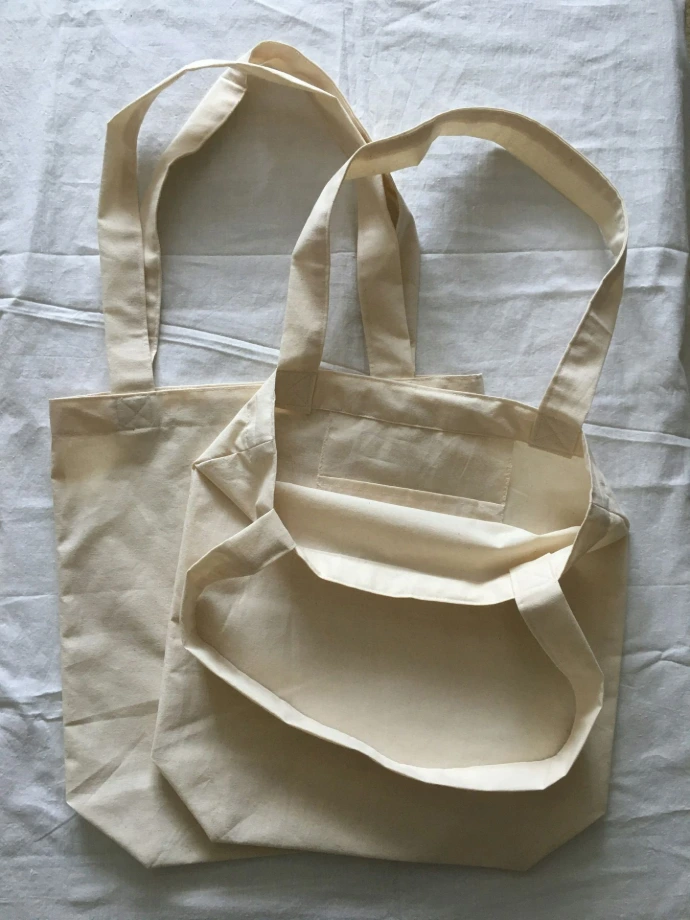
Reusable fabric bags
Steps to Make Reusable Fabric Bags Using Old Shirts


1. Select an Old Shirt: Choose a clean, unused cotton shirt that is in good condition.
2. Prepare the Fabric: Wash and iron the shirt to make it clean and smooth.
3. Cut the Fabric: Cut the shirt into two large pieces of the desired bag size.
4. Stitch the Sides: Place the fabric pieces together and sew the side and bottom edges securely.
5. Make Handles: Cut two long fabric strips from the leftover shirt material and stitch them firmly to the top of the bag.
6. Finish the Edges: Fold and stitch the top edges to make the bag strong and neat.
7. Decorate the Bag: Add buttons, pockets, embroidery, or fabric patches if desired.
8. Test the Bag: Check the stitching and use the finished bag for carrying books, groceries, or other everyday items.